

I have built melamine forms for years. Cut the panel, screw the sides, tape every inch of the inside with pricey tuck tape, run a bead of silicone, pour, cure, then destroy the whole thing with a pry bar to get the blank out. Every project meant a new form. Every form meant an hour I wasn't actually making anything.
The Universal Epoxy Form Kit ended that for me, and the new Large Universal Form Kit extended it up into table territory. This is how the system actually works, what it does well, where it needs help from you, and how it fits into a real project from layout to demold.

What A Universal Form Kit Actually Is
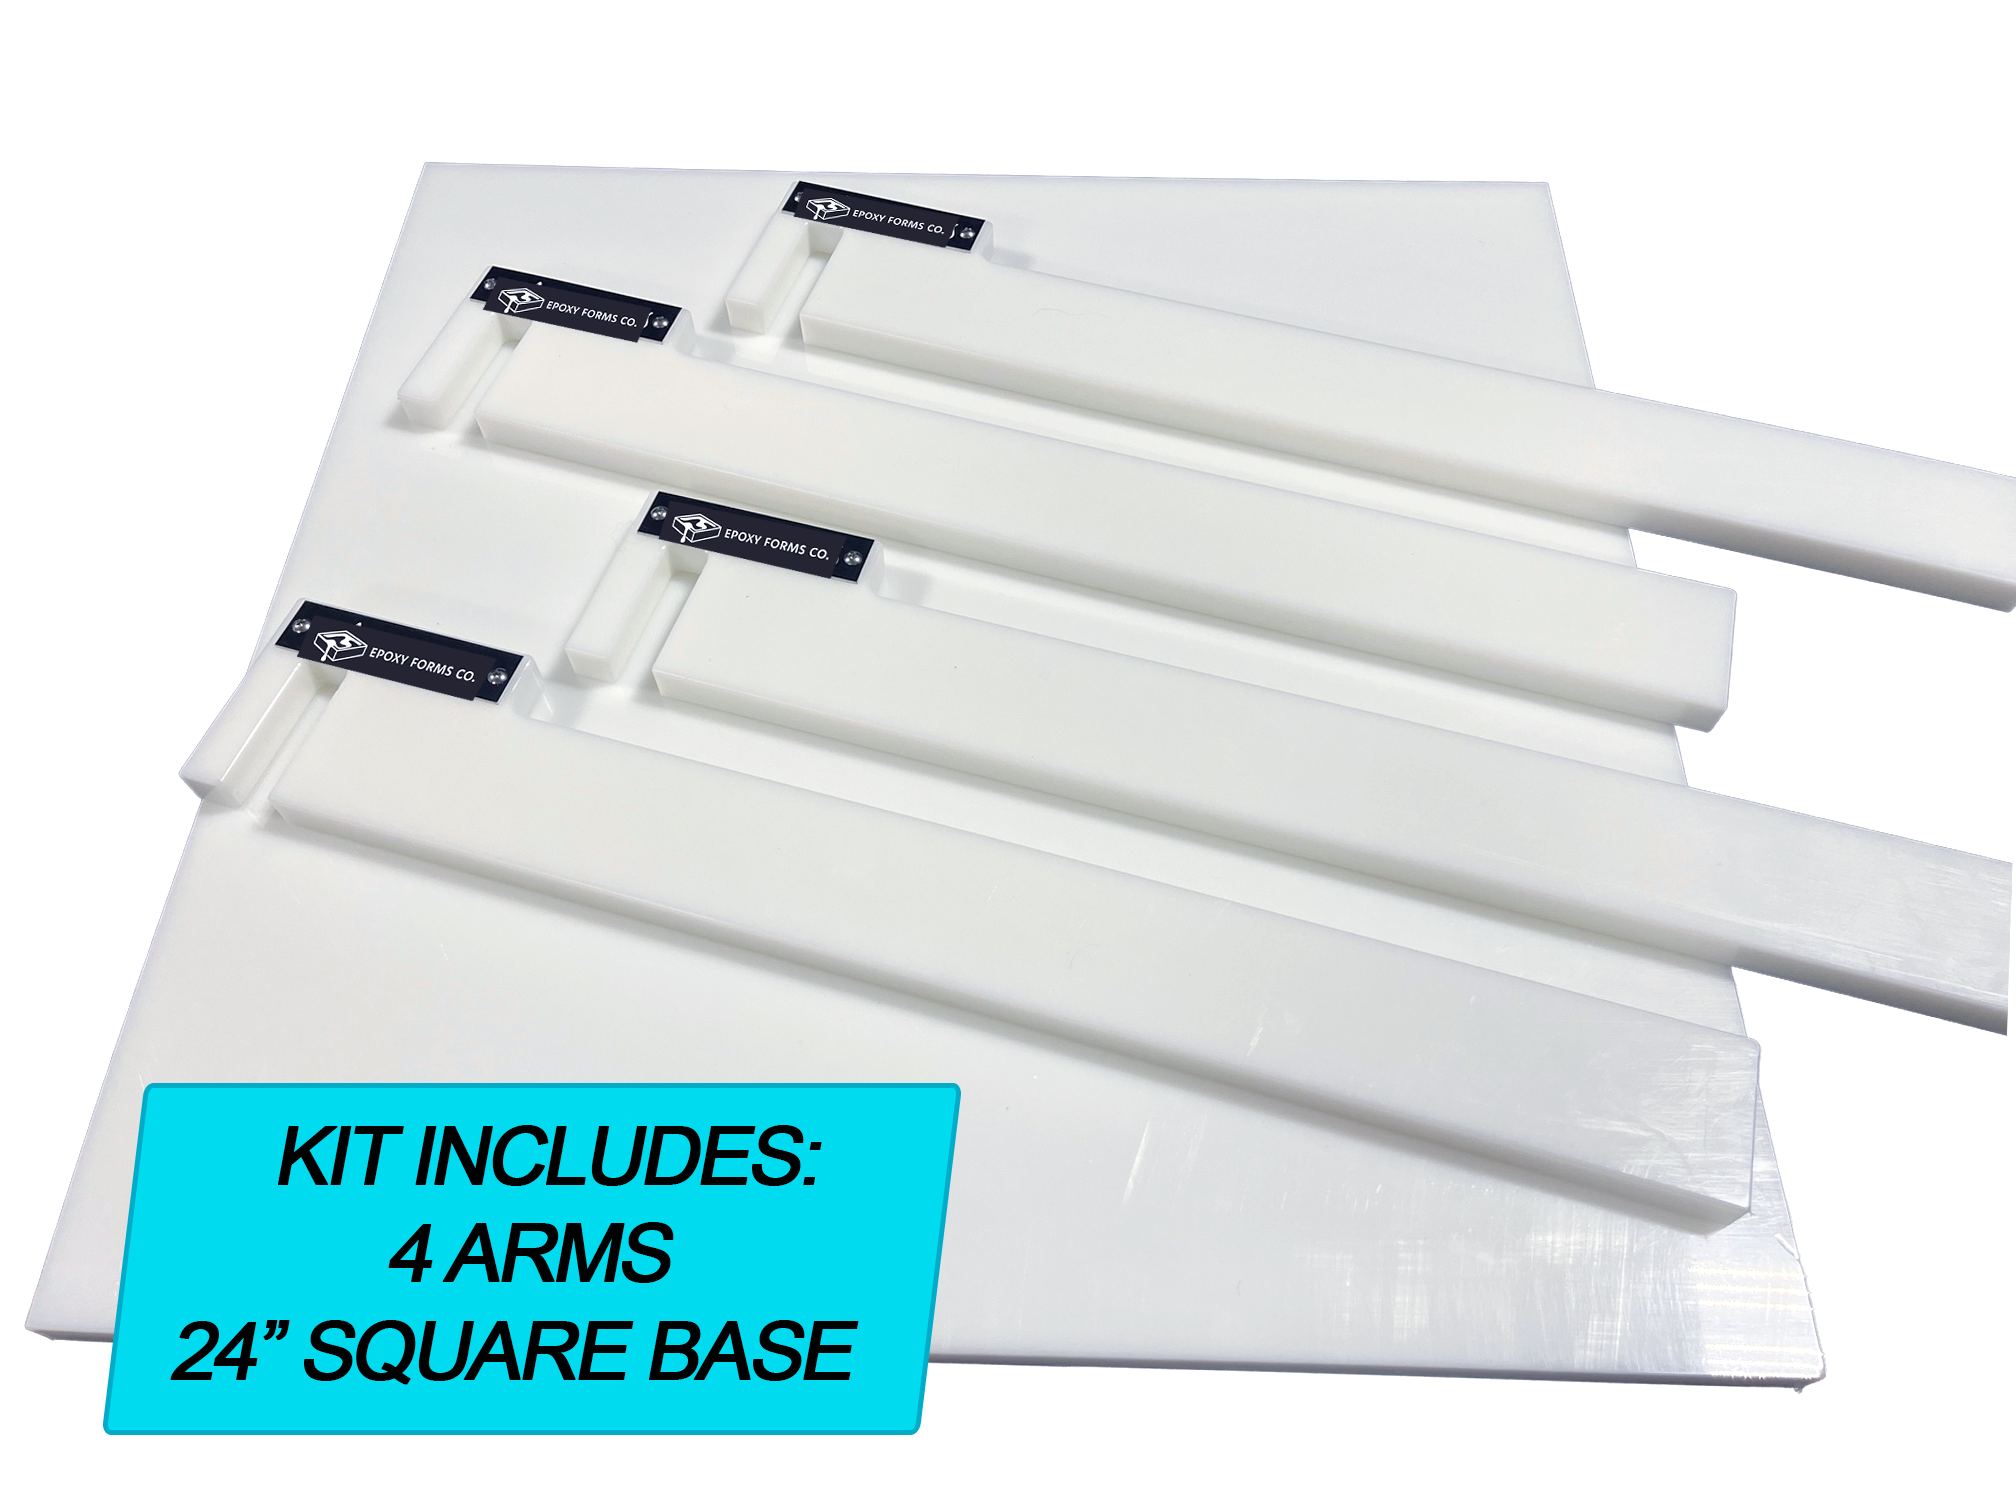
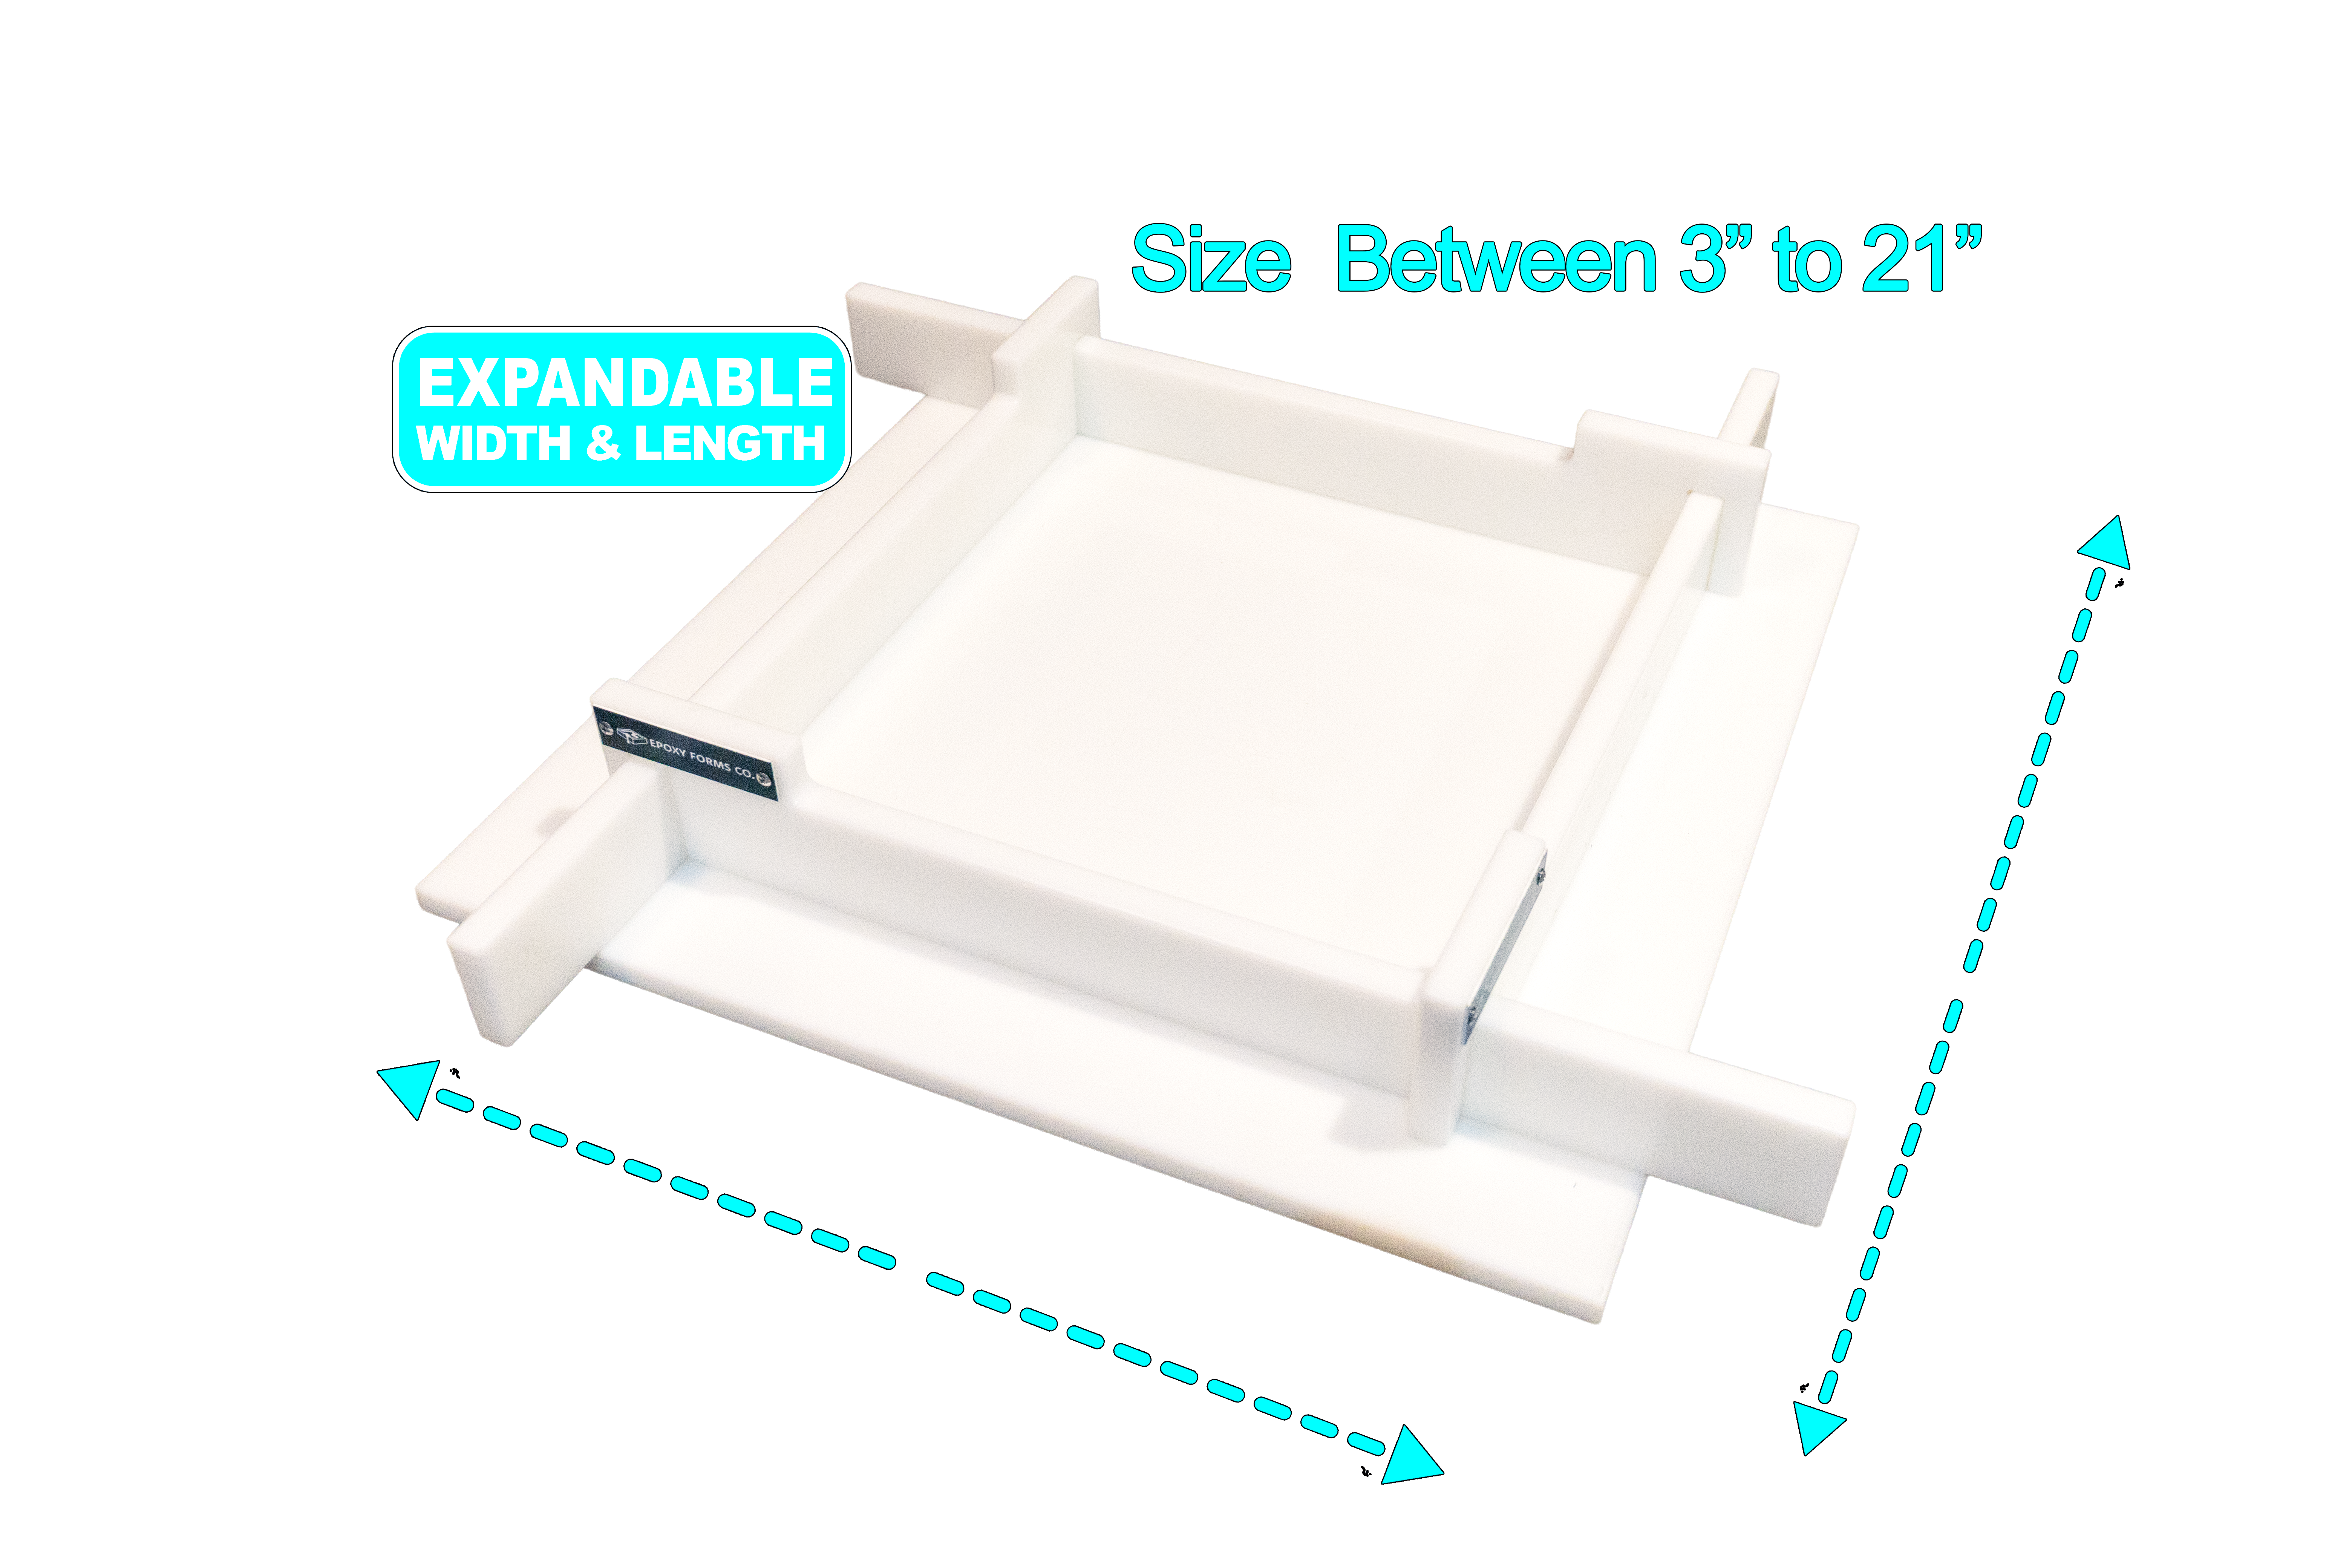
A universal form is not a mold in the silicone sense. It is a set of straight, rigid HDPE side walls that interlock at the corners, sitting on a flat HDPE base. You slide the walls in and out of each other to set whatever interior dimension your project needs, seal the inside corners, and pour.
Three things make that work:
- The material. High-density polyethylene is the same plastic industrial cutting boards are made of. Cured epoxy will not bond to it. Glue won't stick to it. It's a great product. That is why your epoxy projects pop free instead of tearing away a layer of melamine with it like most homemade custom forms.
- The rigidity. HDPE walls do not bow under the hydrostatic pressure of a deep pour the way thin silicone or a poorly braced plywood box will. Straight walls in means straight walls out, which means less material lost at the jointer.
- The joint. The wall ends have mating slots. They interconnect to make a rectangle at any width and length inside the range, then hold that shape without hardware. Just a bead of silicone holds everything together and makes the form liquid tight.
Watch How It Works
If you're like me, if a photo is worth a thousand words, then a video is worth a million words. Here is the Universal Form Kit in action:
Going Big: The Large Universal Form Kit
The 21" ceiling on the original kit covers charcuterie boards, trays, serving boards, and small river boards comfortably. It does not cover a coffee table. That was the most common request we heard, and the Large Universal Form Kit is the answer.
With the full Large kit you get two 47.5" walls, two 23.5" walls, and a 47.5" × 23.5" base, which opens the interior up to 45" on the long side and 21" on the short side. That is a coffee table, a sofa table, a long river board, a bench seat, or a large art piece.
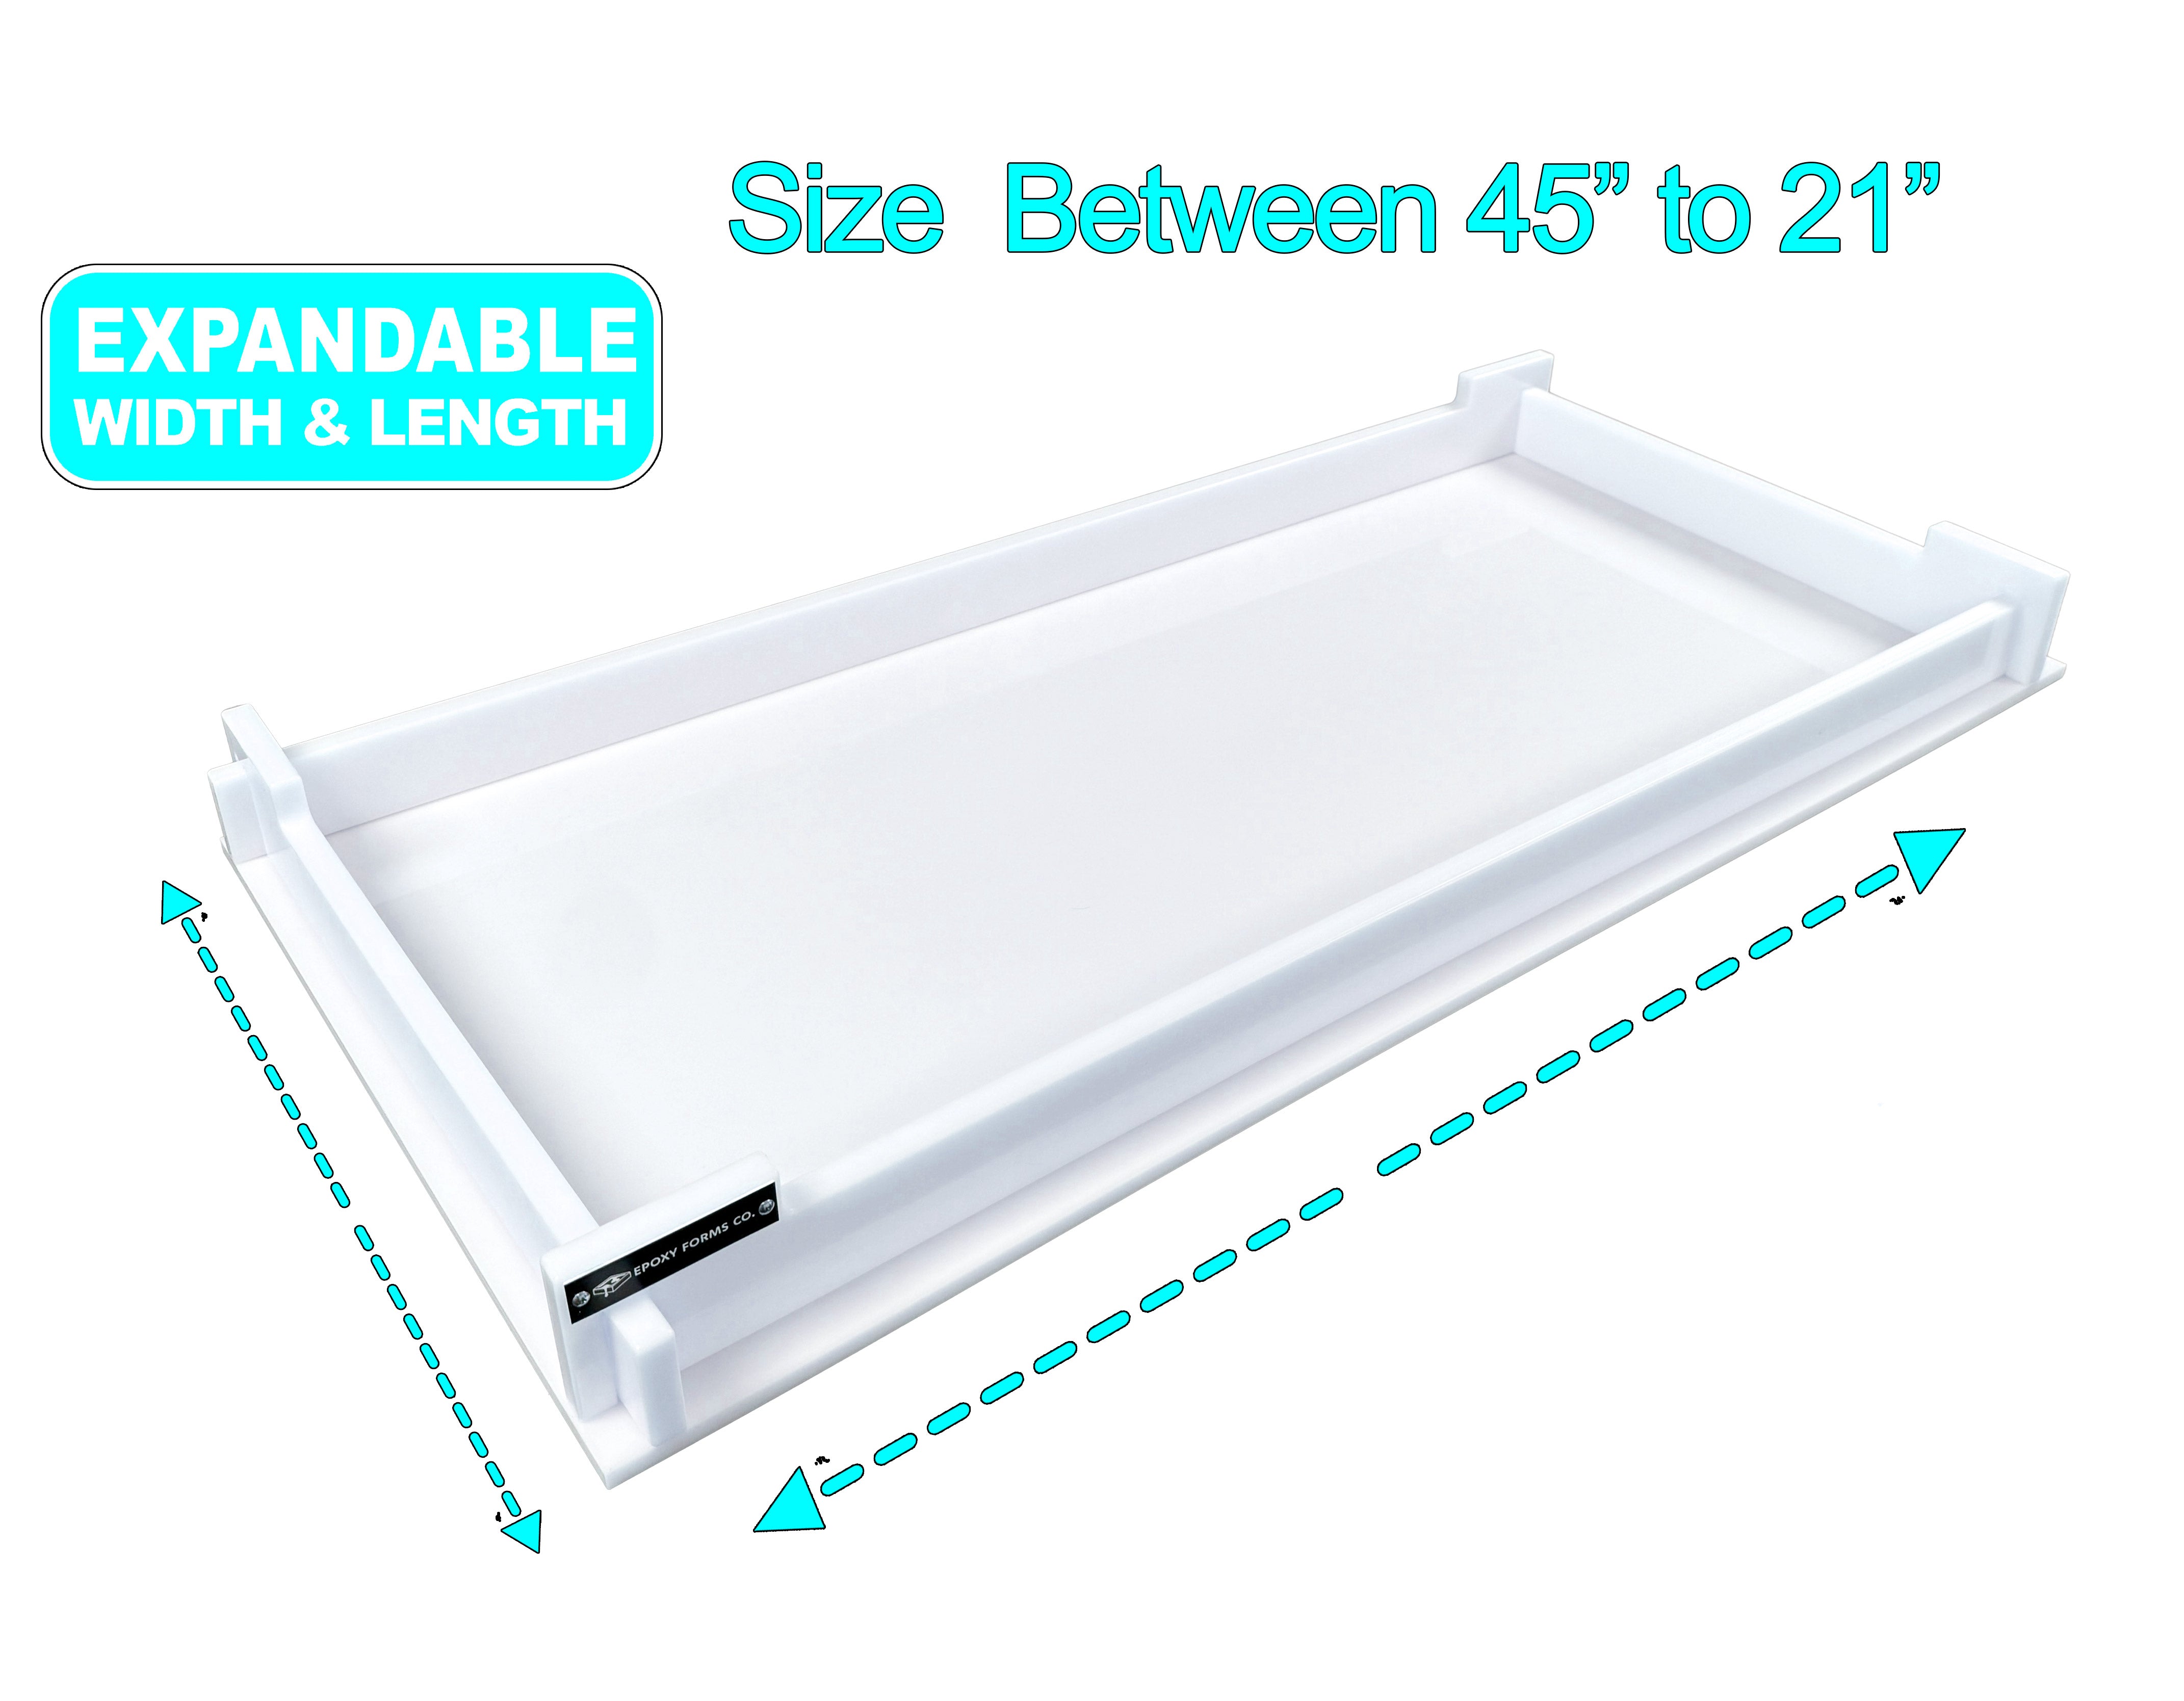
Everything else about it behaves exactly like the smaller kit. Same 2.5" walls, same interlocking ends, same silicone seal, same demold and reset. If you already own the original, the Large kit is not a new system to learn. It is the same system with more reach.
Two things scale up along with the size, though, and both deserve respect:
- Support. A 45" pour full of resin is heavy. It needs a surface that carries the load across its entire footprint with no sag. Two sawhorses and a sheet of plywood is probably not enough.
- Sealing. More linear feet of corner means more places to leak. Take your time on the fillet, and check the whole perimeter with a light before you mix.
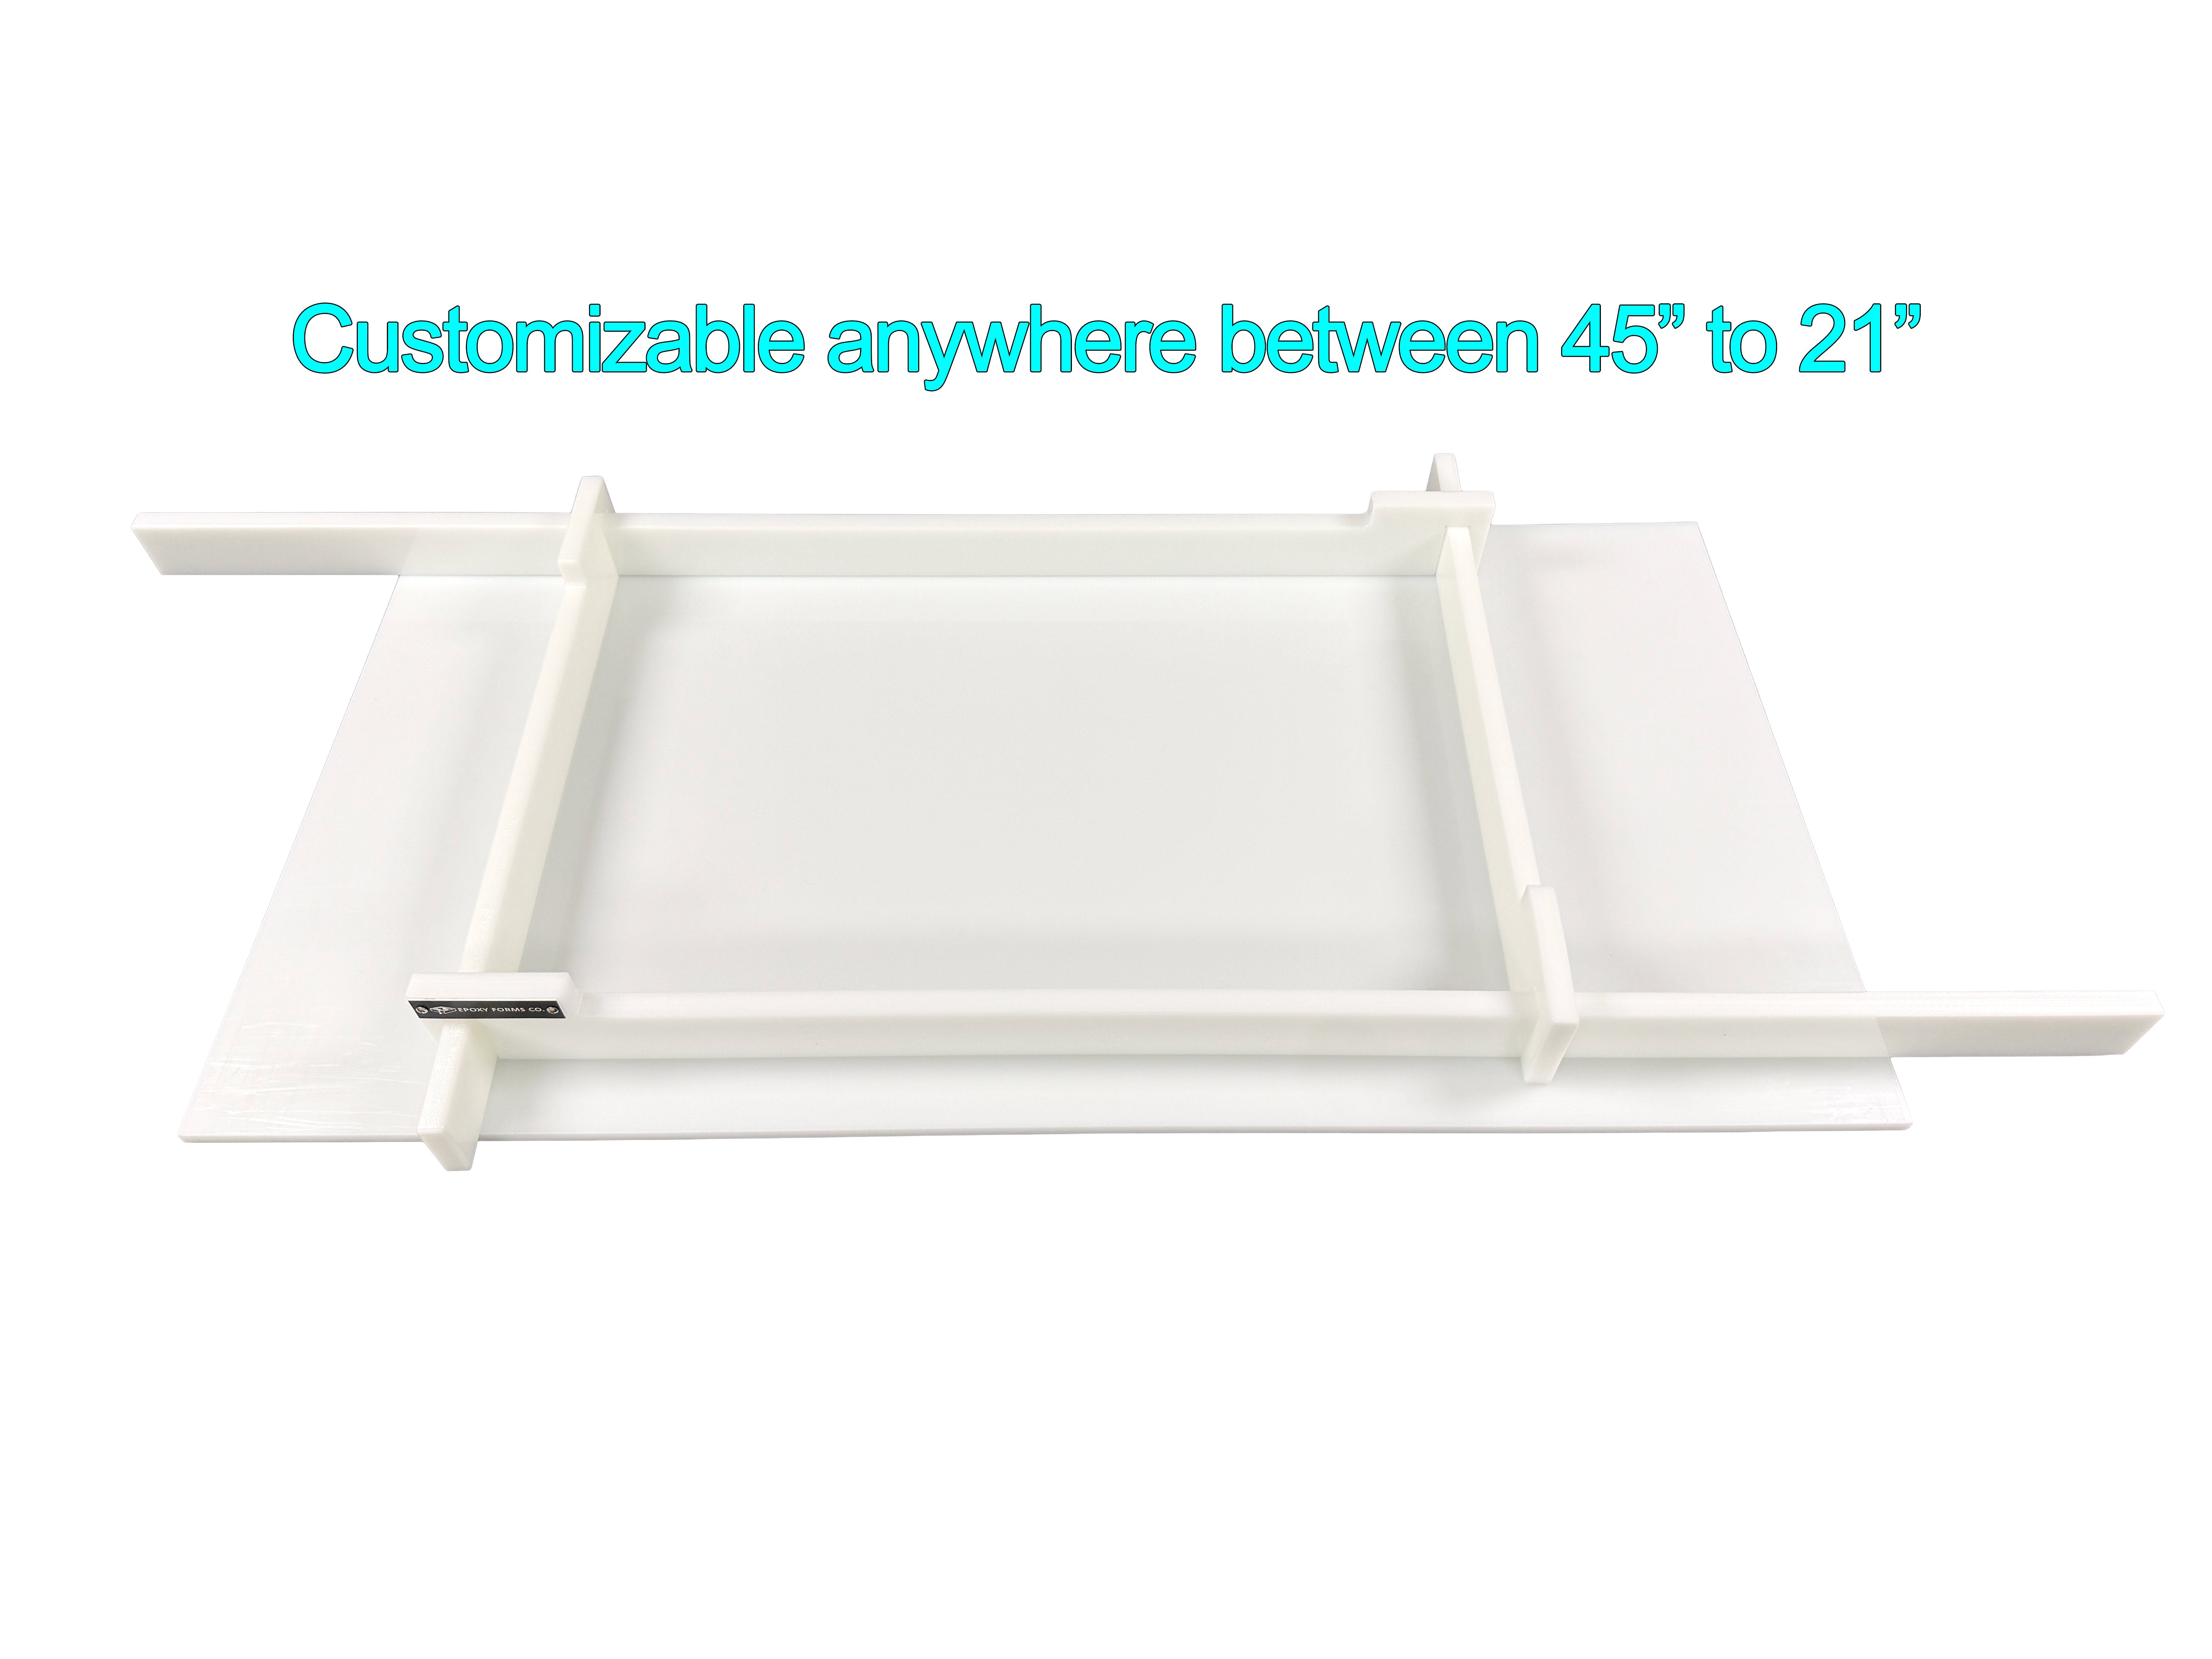
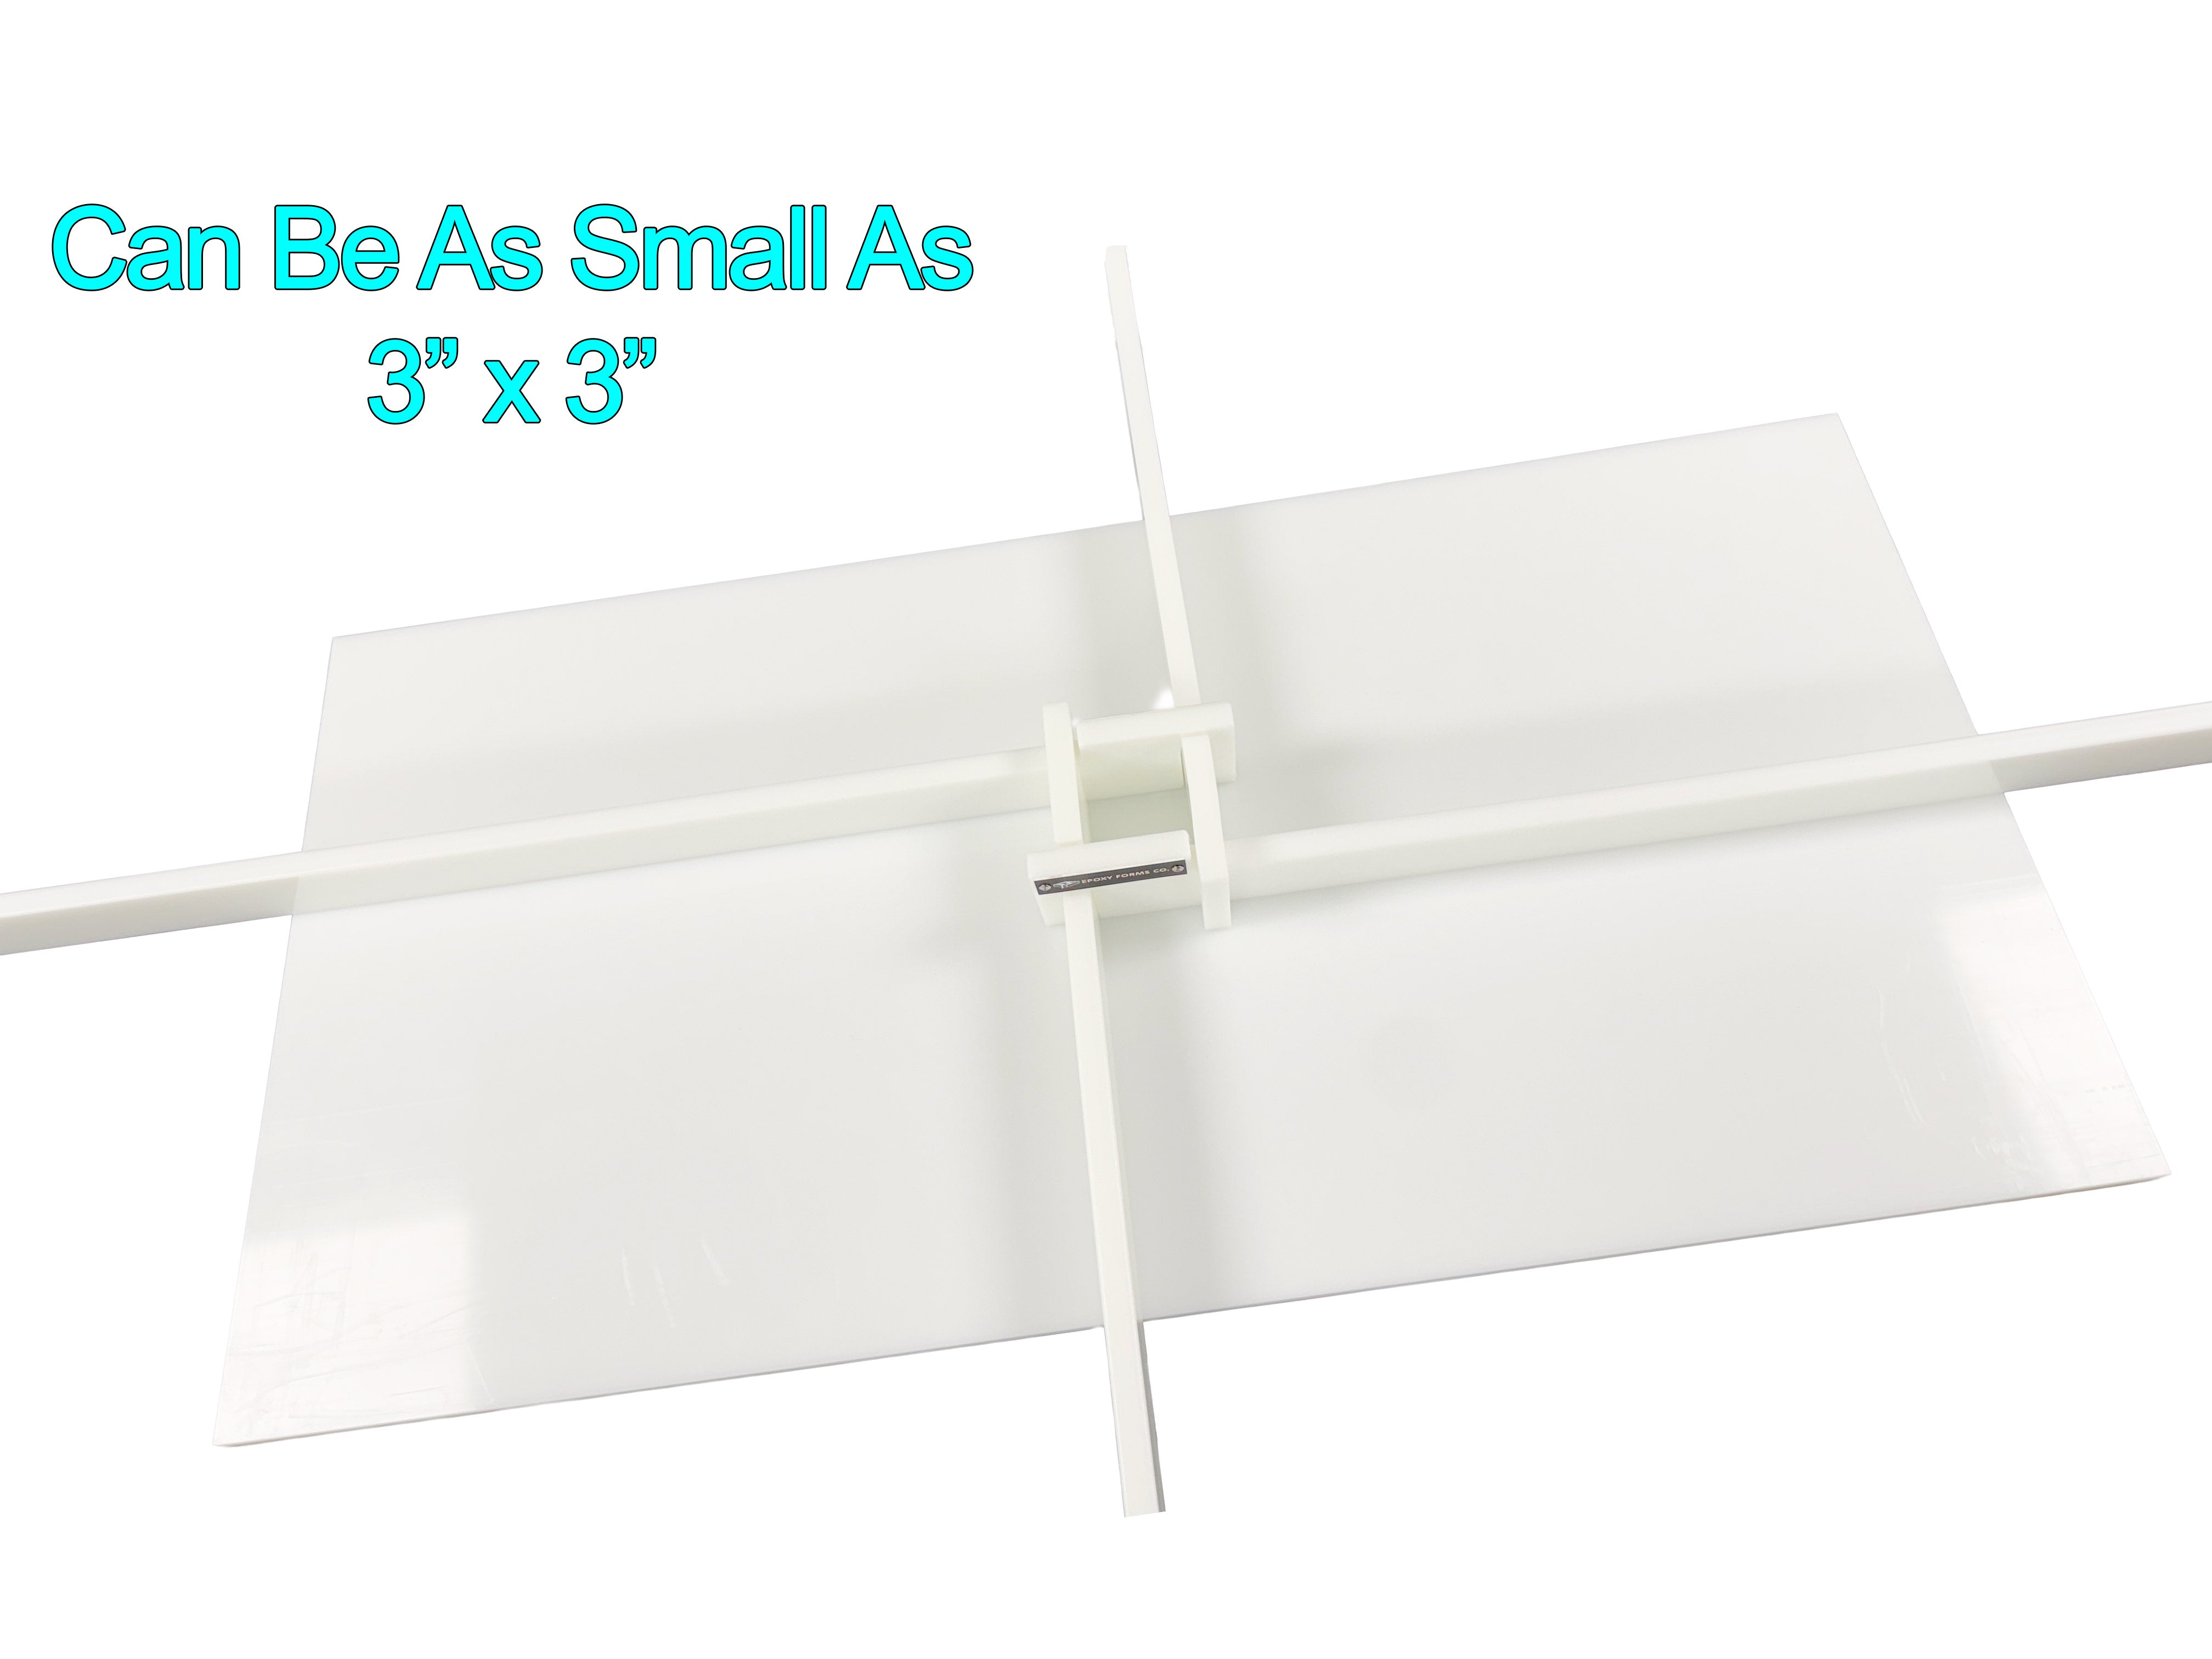
And because the walls slide, the Large kit does not lose the small end of the range. It still closes down to a 3" interior. You can pour a set of coasters on Monday and a coffee table on Friday with the same four pieces of plastic.
How it compares
| Universal HDPE kit | Fixed HDPE form | Melamine box | Silicone mold | |
|---|---|---|---|---|
| Sizes per unit | Unlimited in range | One | One per build | One |
| Reusable | Yes, indefinitely | Yes, indefinitely | Rarely | Limited lifespan |
| Setup per project | Slide, seal, wait for silicone | Wipe and pour | Build, screw, tape, seal | Wipe and pour |
| Wall rigidity | High | High | Medium, needs bracing | Low, bows on deep pours |
| Doubles as a router jig | Yes | No | No | No |
If you pour the same size over and over, a fixed no-seal form is faster and worth owning. If your sizes change with whatever slab came off the truck, the universal kit wins on the first project and keeps winning.
The Two Sizes, Side By Side
The Universal kit has been a big hit in the epoxy community the last year, but everyone kept asking if we could do it bigger. So we brought out the Large Universal Form Kit which allows you to grow your form up to 45". That opens up so many more possibilities with projects like tables, countertops, and large art pieces. Both kits use the same 2.5" tall wall profile and the same interlocking system. The only real difference is how far they open up.
| Spec | Universal Form Kit | Large Universal Form Kit |
|---|---|---|
| Interior size range | 3" square up to ~21" square | 3" square up to 45" long × 21" short |
| Side walls (full kit) | (4) 23.5" walls, 2.5" tall | (2) 47.5" walls + (2) 23.5" walls, 2.5" tall |
| Base (full kit) | (1) 23.5" × 23.5" × 1/2" | (1) 47.5" × 23.5" × 1/2" |
| Wall height | 2.5" | 2.5" |
| Material | HDPE | HDPE |
| Ships | Unassembled | Unassembled |
| Leveling feet included | No | No |
All measurements are interior dimensions. That matters when you are sizing a slab. A 21" interior means you can pour a 21" blank, not that the form is 21" on the outside.
Should You Get A Kit Or Just The Walls
Both kits sell as a complete kit or as walls only. The walls-only options exist because it's inexpensive and plenty of makers already have a flat, sealed work surface and would rather silicone the walls straight down to a taped melamine sheet or plastic sheeting than pay to ship a base.
| Option | What you get | Best for |
|---|---|---|
| Universal — Full Kit with Arms and Base | (4) 23.5" walls + 23.5" square base | The complete, self-contained setup. Charcuterie boards, trays, coasters, small river boards, cribbage boards. |
| Universal — Arms Only | (4) 23.5" walls | You already have a flat sub-base you trust, or you are adding a second set of walls. |
| Large — Full Kit with Arms and Base | (2) 47.5" + (2) 23.5" walls + 47.5" × 23.5" base | Coffee tables, sofa tables, long river boards, bench tops. The biggest turnkey setup offered. |
| Large — 2 Large Arms and 2 Small Arms Only | (2) 47.5" + (2) 23.5" walls | Long-format pours on your own sub-base. |
| Large — 4 Large Arms Only | (4) 47.5" walls | Going wide as well as long. Four long walls let you lay out a square footprint well past what the shipped base covers. |
A note on the big base: there is no 47.5" × 47.5" base in the catalog, and that is a freight decision rather than a design one. A panel that size costs more to ship than most people want to pay. If you want one, reach out directly and a shop pickup can be arranged.
Setting Up The Form
1. Interlock the walls
The kit arrives as a base and 4 separate walls. Each wall end drops into the mating slot on the adjacent wall. Once they are all fitted together, you can slide them to the size you want and you have a rectangle or square shape. It takes just a few seconds to put the whole form together.
My habit is to dry-fit around the actual workpiece rather than measuring. Lay the slab or the two live-edge halves on the base and then bring the walls in until there is about 1/8" of clearance on each side. That clearance is for your silicone that will seal the edge of the form and it is what you will lose at the table saw later, so keep it tight.
2. Get it flat and level
A form should be set up and poured on a flat surface. Because this form can be set to a hundred different footprints, it does not ship with leveling feet, so that job falls to you. Set the form on a bench or torsion box that is genuinely flat and can carry the weight. A 45" x 21" pour at 2" deep is a lot of resin, and any sag in the surface underneath shows up as a wedge in your final project.
Check it with a level in both directions before you seal anything. Shim the bench, not the form. Shimming a form can cause the bottom of the form to bow and that will be seen in your cured project as well.
3. Seal the corners
This is the important step because it locks the walls in place and it seals the form so the epoxy can't leak out. It is also the step that decides whether you spend tomorrow morning scraping cured epoxy off the floor or not.
Run a bead of RTV 100% silicone down every inside corner where wall meets wall, and along the full perimeter where the walls meet the base. Smooth it in with an Squeeze-out tool or your finger. You want a continuous concave fillet with no gaps and no air pockets or void spots.
Use 100% silicone, not a silicone-latex blend and not acrylic caulk. Deep pours generate real exothermic heat, and blended caulks soften and let go right when the resin is thinnest and most eager to escape. A ten-dollar tube is cheap insurance against a two-hundred-dollar puddle.
Let the silicone skin over before you pour. Follow the tube's cure time.
It's Pour Time
Prep the wood first
Wood has air trapped in it all the time, and when you introduce epoxy to the surface, the epoxy forces its way into the wood and the air has to escape somewhere. It is usually right into your epoxy. Seal-coat your slab before the flood pour. A thin coat of epoxy brushed onto every exposed face, especially end grain and the live edge, closes off the pores that would otherwise outgas into your clear pour and leave a ribbon of bubbles along the wood line. Let it tack up.
Hold the wood down
Wood floats. A dry slab in two inches of resin will lift, tilt, and cure that way. HDPE clamping blocks are the clean answer here, because if you over-pour, the resin releases from the blocks the same way it releases from the walls. Just put some weight on top of the blocks and that will keep everything from floating.
Calculate your volume
Because the form changes size, you cannot memorize a resin quantity the way you can with a fixed mold. Measure your set interior dimensions and your target depth, then run it through our epoxy volume calculator. Mix a little extra. Coming up short mid-pour on a deep casting is a bad afternoon. Our epoxy calculator has a button to help add a little extra epoxy to your calculation for really easy planning.
Pour and cure
Pour slowly and down low to limit air entrainment. Respect the maximum single-layer depth of whatever deep pour resin you are using. That means do what your epoxy bottle says and do not pour thicker than the instructions. You can cause the epoxy to flash cure with too much volume and heat generated. The 2.5" wall height gives you room for a deep casting or for layered pours, but the resin's own limits govern that, not the form's.
Demolding and resetting
This is where an adjustable HDPE form pulls ahead of everything else.
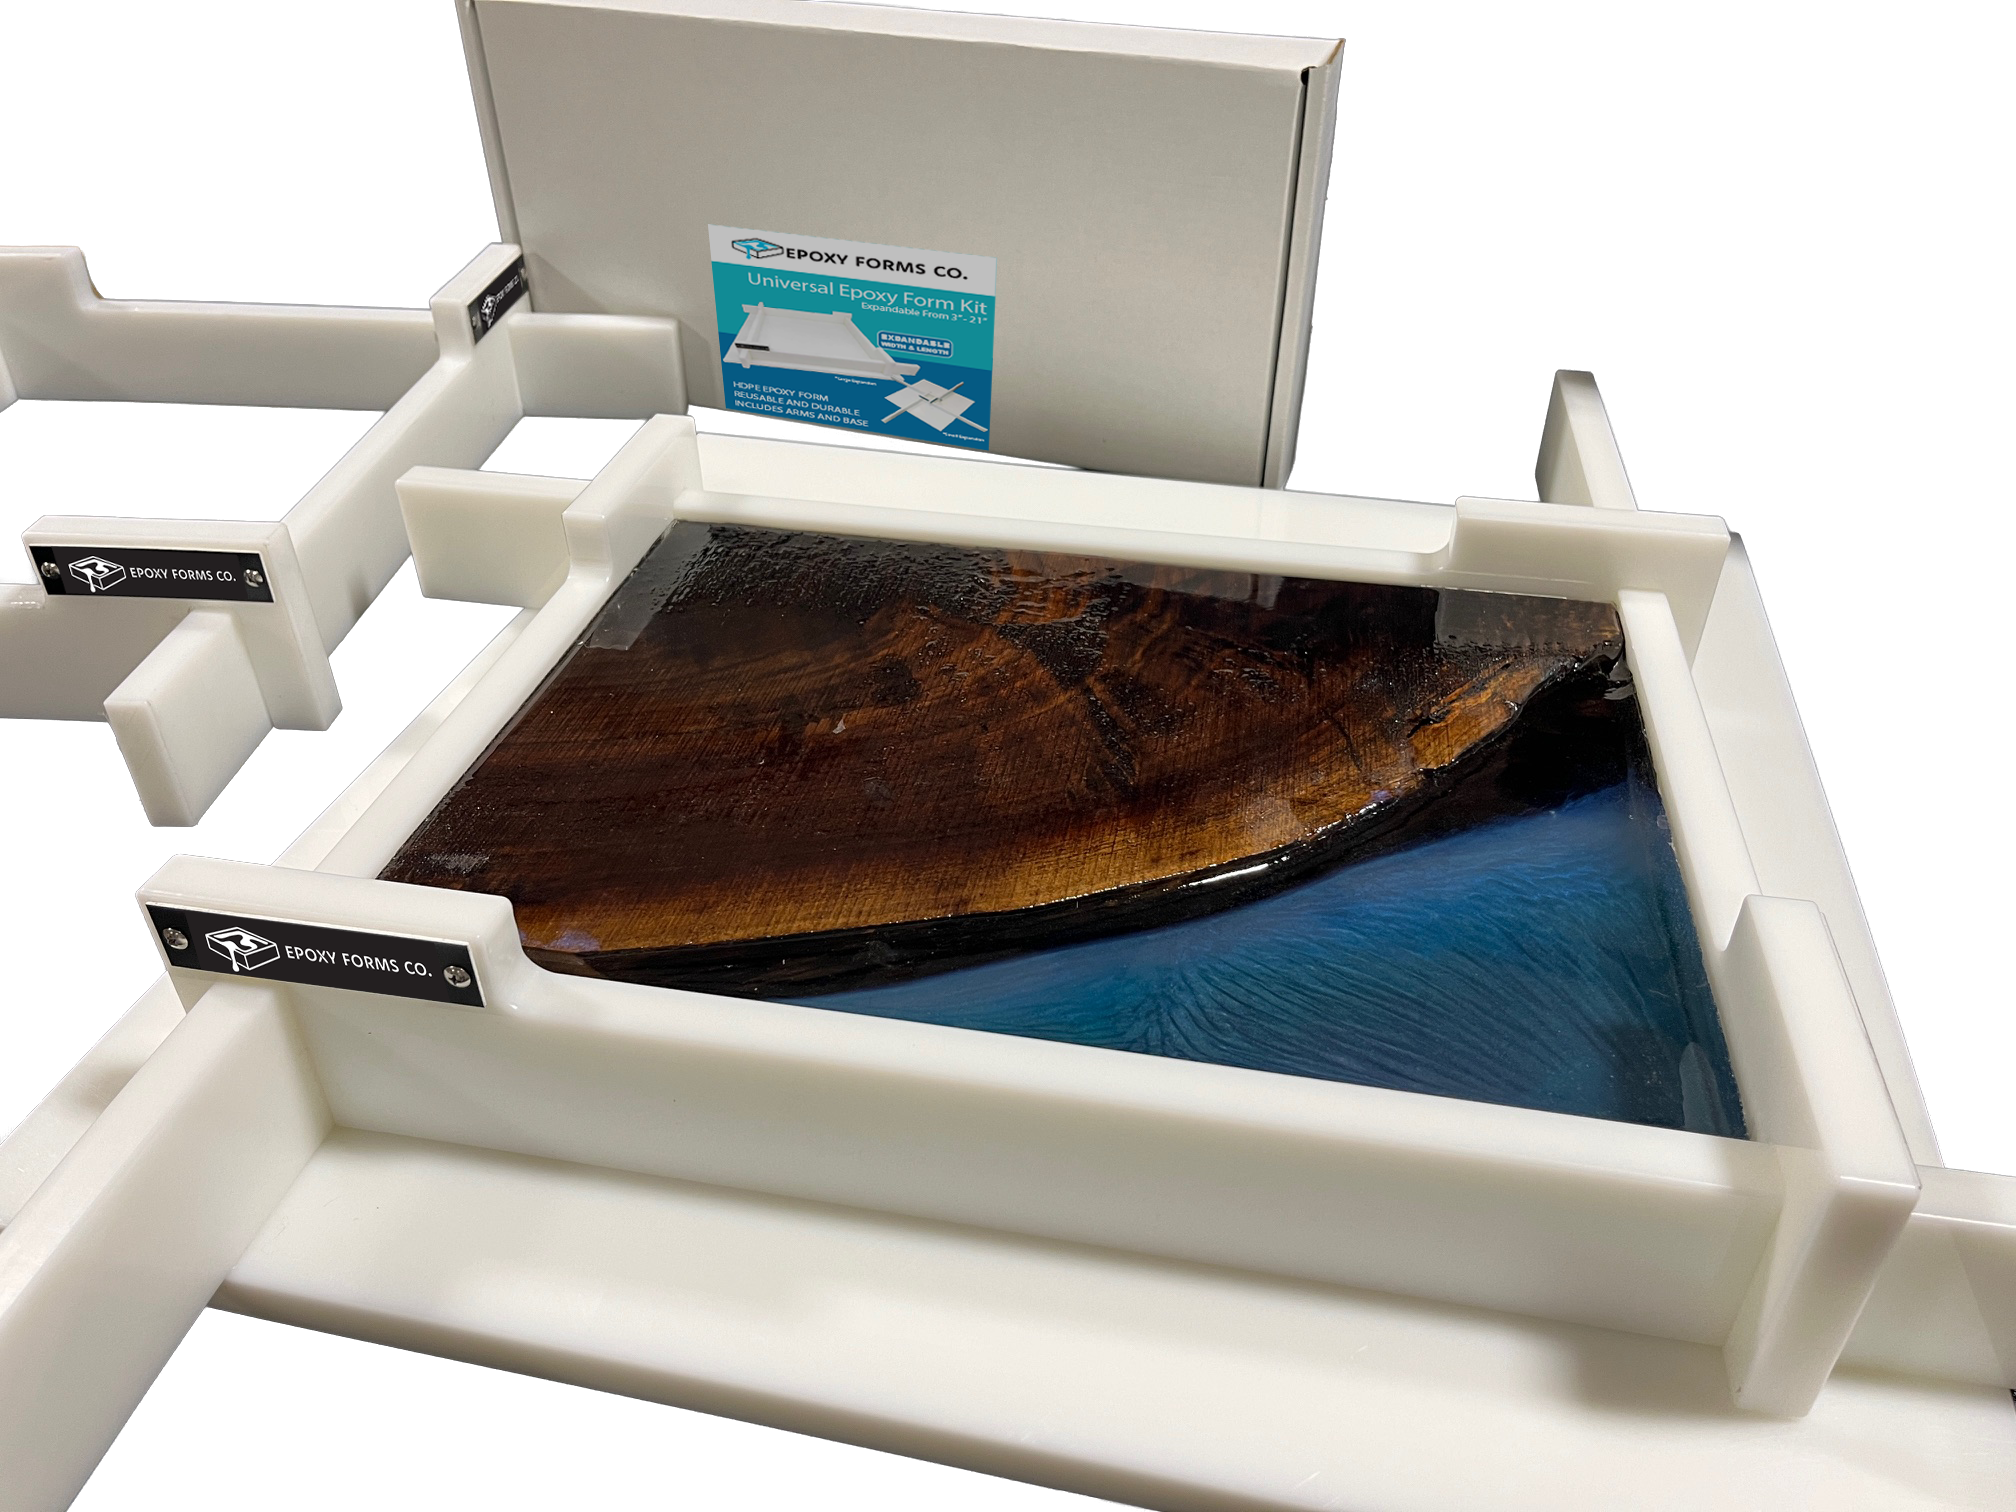
Once cured, pop the side of the walls with your hand or a rubber mallet gently and the walls will separate from your pour. Nothing gets cut, pried, or thrown away. Peel the old silicone off the HDPE, which comes away in strips because it never bonded, wipe the walls down, and the kit is ready for the next job at a completely different size.
Compare that to melamine, where the form is the consumable. Compare it to a fixed HDPE form, which resets in seconds but only ever makes one size. The universal kit is the middle path: a few minutes of silicone work per project buys you unlimited sizes from one set of walls.
Care and storage
- Peel silicone residue off after every demold. It lifts easily and never bonds to HDPE.
- Scrape drips with a plastic scraper. Avoid metal edges on the wall faces.
- Reapply release agent per the manufacturer's schedule.
- Store the walls flat or on edge, not leaned against a wall in a hot shop where they can take a set.
- Keep the base flat and off the floor.
A note on scuff marks
HDPE is slick, and machining it leaves faint surface scuffs. Those marks can transfer to the resin face. They sand and plane out immediately when you bring the blank down to final thickness, or disappear like magic when a flood coat of epoxy is poured on top, and they have no effect on the finished piece. Every one of these forms produces a blank, not a finished product. Flattening, sanding, and finishing are still up to you depending on how you want your finished project to look.
Frequently asked questions
What is a universal epoxy form kit?
It is a set of interlocking HDPE side walls and a flat HDPE base that adjusts to any interior dimension within its range. Instead of owning a separate mold for every project size, you set one kit to whatever size your workpiece needs, seal the corners with silicone, and pour.
What sizes can the Universal Form Kit be set to?
The standard kit adjusts from a 3" square interior up to roughly a 21" square interior, with 2.5" tall side walls. The Large kit adjusts from a 3" square interior up to 45" on the long side and 21" on the short side, also with 2.5" walls. All figures are interior dimensions.
Do I need silicone with a universal form kit?
Yes. Because the walls slide to change size, the kit cannot use a built-in gasket the way a fixed-size form does. Every project needs a bead of RTV 100% silicone along the inside corners and the base seam. Use 100% silicone, not a blend, because blended caulks can fail under the exothermic heat of a deep pour.
Does the kit come assembled?
No. Both universal kits ship unassembled. The wall ends drop into mating slots on the adjacent walls, so assembly takes about a minute with no tools or hardware.
Is a leveling kit included?
No. Neither universal kit includes leveling feet or bubble levels. Set the form on a large, flat, level work surface that fully supports the weight of the form and its contents, and check level in both directions before sealing.
Can I buy the walls without the base?
Yes. Both kits offer walls-only options for makers who prefer to silicone the walls down to their own taped board or plastic sheeting. Bases are also sold separately in the accessories section.
Why is there no 47.5" × 47.5" base?
Shipping. A base that large costs more to freight than most orders justify. Contact the shop directly to arrange a pickup if you need one.
Will epoxy stick to HDPE?
No. Cured epoxy does not bond to high-density polyethylene, which is why blanks release cleanly and the walls can be reused indefinitely. A release agent is still recommended to make demolding easier and extend the life of the form.
What are the scuff marks on the form?
Minor manufacturing scuffs are normal on machined HDPE. They can transfer to the resin surface and sand or plane away easily when you bring the blank to final thickness, or disappear under a flood coat. They do not affect the finished piece.
Can the form be used as a router jig?
Yes. The straight, rigid walls make an accurate four-sided fence. Clamp them around a finished cutting board and run a router base or guide bushing against the inside faces to plunge a uniform internal juice groove.
What can I make with it?
Charcuterie and cutting boards, serving trays, coasters, cribbage boards, river boards, clock faces, and small panels with the standard kit. Coffee tables, sofa tables, bench tops, headboard panels, and long river tables with the Large kit.
The short version
One kit, every size in its range, forever. You trade a few minutes of silicone work per project for never building another form. After the third or fourth pour it stops feeling like a product and starts feeling like part of the bench.
Shop the Universal Epoxy Form Kit (3"–21")
Shop the Large Universal Epoxy Form Kit (3"–45")
Silicone, squeeze-out tools, clamping blocks and bases
Epoxy volume calculator